记录一下Typora中picgo-core的配置
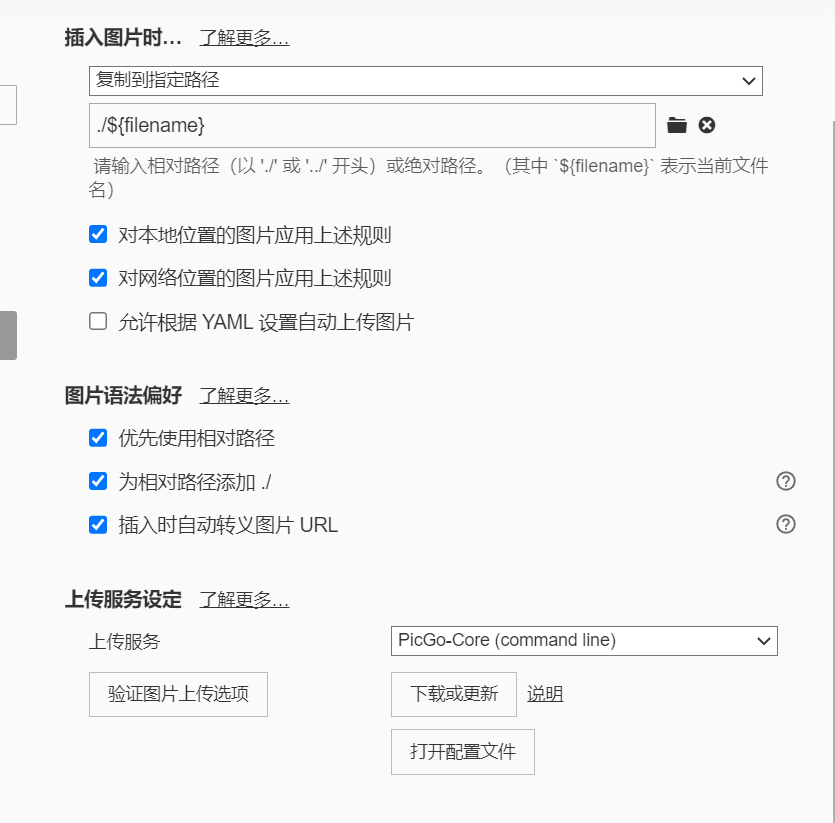
typora相关设置

下载picgo-core
以上设置完毕后在Typora内下载PicGo-Core
安装插件
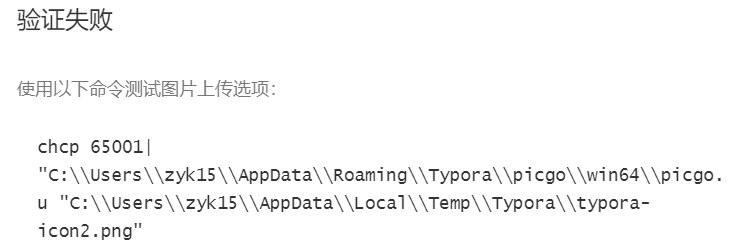
下载完picgo-core直接点击验证图片上传,此时会显示失败,记下picgo.exe的路径,如我的路径为"C:\\Users\\zyk15\\AppData\\Roaming\\Typora\\picgo\\win64\\picgo.exe"

在该路径下打开命令行,运行以下代码安装插件
github-plus替代原有上传服务
super-prefix 自动重命名图片
$ ./picgo.exe install github-plus
$ ./picgo.exe install super-prefix
配置文件
Typora内打开picgo配置文件,内容如下
{
  "picBed": {
    "current": "githubPlus",
    "githubPlus": {
      "repo": "用户名/仓库名",
      "token": "xxxxxxxx",
      "path": "仓库内文件夹名/",
      "customUrl": "https://fastly.jsdelivr.net/gh/用户名/仓库名/",
      "branch": "master"
    }
  },
  "picgoPlugins": {
    "picgo-plugin-super-prefix": true,
    "picgo-plugin-github-plus": true
  },
  "picgo-plugin-super-prefix": {
    "fileFormat": "YYYYMMDDHHmmss"
  },
}
仅记录以便自己查阅。
